What Is Cold Composting? A Practical Guide for Beginner Gardeners
- 8 hours ago
- 11 min read
Many people are surprised to learn that there is more than one way to compost. Hot composting, worm composting, bokashi, and cold composting all break down organic materials, but they do so in very different ways. Cold composting is one of the easiest and most beginner-friendly methods because it requires minimal equipment, little maintenance, and no temperature monitoring. Instead of actively managing a compost pile, you allow food scraps, leaves, and yard waste to decompose naturally over time. While the process is slower than hot composting, it offers a simple, low-cost way to reduce waste, build healthier soil, and introduce composting in homes, schools, community gardens, and other educational settings.

What Is Cold Composting?
Cold composting is a slow, low-maintenance composting method where food scraps, leaves, garden waste, and other organic materials break down over time without the pile reaching the high temperatures used in hot composting. Cold composting is not fast. It usually takes several months to more than a year. The tradeoff is that it requires less labor than hot composting.
It is often called passive composting or lazy composting because it does not require frequent turning, careful temperature tracking, or exact ingredient ratios. Cold composting works because bacteria, fungi, insects, worms, and other decomposers slowly break organic materials into a darker, soil-like amendment that can support gardens, trees, and landscape beds. Cold composting is best for people who want a simple system that fits real life. It is useful for:
Home gardeners
Families
Beginner composters
School gardens
Libraries
Community gardens
Nature centers
Backyard food waste reduction
Why Cold Composting Matters
Cold composting gives households, schools, and gardens a practical way to keep useful organic material out of the trash. Food scraps and yard waste still have value. Leaves, vegetable peels, plant trimmings, coffee grounds, and small garden debris can become organic matter that supports soil structure, moisture retention, and plant growth.
For schools and community sites, cold composting can also help people understand circular resource management. Students can see that waste is not always waste. A banana peel, dead leaf, or carrot top can become part of a living soil system. Cold composting is especially helpful when a site:
Has limited time
Does not have equipment for hot composting
Wants a simple composting system
Has mostly leaves and garden debris
Needs a low-cost entry point
Wants to compost without running a high-maintenance pile
How Cold Composting Works
Cold composting relies on natural decomposition. A cold compost pile usually contains two main material groups:
Greens
Greens are nitrogen-rich materials. They help feed microbes and speed decomposition. Examples include:
Fruit scraps
Vegetable scraps
Coffee grounds
Tea leaves
Fresh grass clippings
Fresh plant trimmings
Browns
Browns are carbon-rich materials. They create structure, absorb moisture, reduce odor, and help keep the pile from becoming slimy. A cold compost pile works best when greens are covered with browns. This keeps the pile balanced, reduces pests, and helps control odor. Examples include:
Dry leaves
Shredded cardboard
Plain paper
Straw
Wood chips
Sawdust from untreated wood
Dead garden plants
Cold Composting vs Hot Composting
Cold composting and hot composting both turn organic material into compost, but they operate differently. Hot composting can produce compost in weeks or a few months when managed well. Cold composting may take 6 to 18 months, depending on climate, materials, pile size, moisture, and how often it is mixed.
Cold Composting | Hot Composting | |
Labor | Low | Moderate to high |
Speed | Slow | Fast |
Turning | Optional | Frequent |
Temperature tracking | Usually no | Yes |
Best for beginners | Yes | Sometimes |
Kills weed seeds | Less reliable | More reliable |
Handles disease risk | Less reliable | More reliable |
Cold Composting vs Worm Composting
Cold composting uses a pile or bin outdoors. Worm composting uses composting worms, usually red wigglers, to process food scraps in a controlled bin. Cold composting is better for:
Leaves
Garden debris
Larger outdoor systems
Low-maintenance yard waste management

Worm composting is better for:
Indoor settings
Small food scrap volumes
Frequent observation
What Can Go Into a Cold Compost Pile?
Good Materials to Add
Use these materials:
Fruit scraps
Vegetable scraps
Coffee grounds
Tea leaves
Crushed eggshells
Dry leaves
Dead plants
Small twigs
Shredded cardboard
Plain paper
Straw
Plant-based garden debris
Grass clippings in thin layers
Materials to Add Carefully
Some materials can compost, but need extra care.
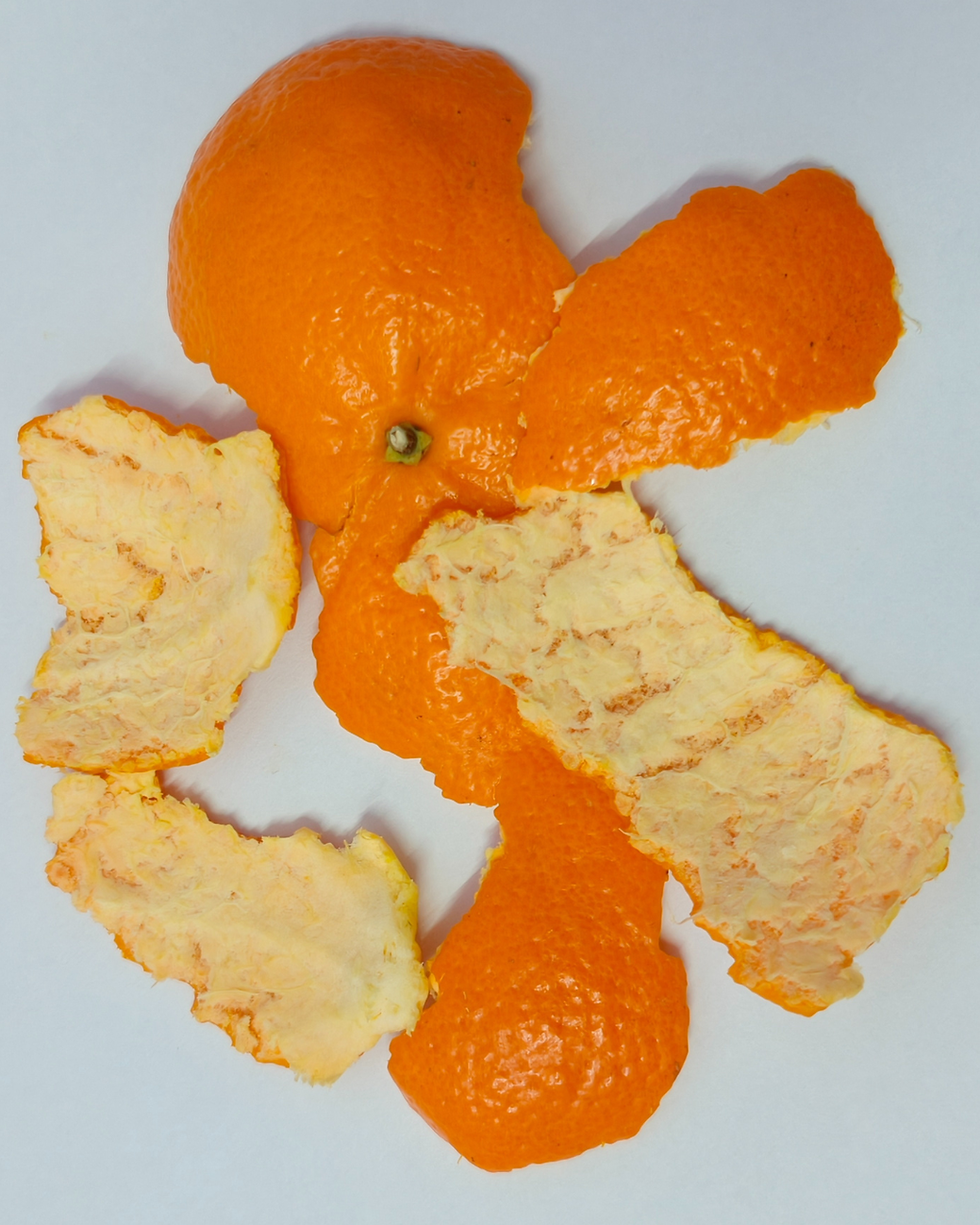
Citrus Peels
Small amounts are fine. Large amounts can slow decomposition and may create strong smells.
Onions and Garlic
Small amounts are acceptable in outdoor piles. Use sparingly because they can smell strong.
Grass Clippings
Grass breaks down fast, but thick layers become slimy. Mix grass with dry leaves or shredded cardboard.
Wood Chips
Wood chips compost slowly. They are useful for structure, but should not make up the whole pile.
Eggshells
Eggshells break down slowly. Crush them first.
What Should Not Go Into a Cold Compost Pile?
Avoid these materials, especially in beginner composting systems:
Meat
Fish
Bones
Dairy
Grease
Cooking oil
Pet waste
Human waste
Diseased plants
Invasive weeds
Weed seeds
Glossy paper
Plastic
Metal
Glass
Compostable packaging unless accepted in your specific system
These materials can create odors, attract pests, spread pathogens, or fail to break down properly. Cold composting does not reliably reach temperatures high enough to reduce risk from certain pathogens, weed seeds, or diseased plant material.
Materials Needed for Cold Composting
A basic cold composting setup can be very simple. You will need:
Outdoor bin, wire ring, wooden bin, or designated pile area
Dry leaves or shredded cardboard
Food scraps or garden waste
Garden fork or shovel
Water source
Optional tarp or lid
How Much Does Cold Composting Cost?
Cold composting can be free or low-cost.
Low-Cost Options
Open pile: $0
Wire ring bin: $20 to $50
DIY pallet bin: $0 to $75
Basic plastic compost bin: $50 to $150
Multi-bin garden system: $150 to $600+
School or Community Site Costs
A school or community site may need more structure. Costs may include:
Lidded bin
Gloves
Signage
Collection buckets
Rodent-resistant hardware cloth
Brown material storage
Tools
A simple garden cold compost setup often costs $100 to $300. A more durable multi-bin system can cost more.
How Long Does Cold Composting Take?
Cold composting usually takes 6 to 18 months. The timeline depends on:
Climate
Moisture
Pile size
Material size
Brown-to-green balance
How often the pile is mixed
Season
A pile with chopped materials, steady moisture, and occasional mixing may finish closer to 6 to 9 months. A pile with large branches, dry leaves, little moisture, and no turning may take a year or longer.

Step-by-Step: How to Start Cold Composting
Step 1: Choose the Location
Pick a spot that is:
Easy to access
Close enough to use regularly
Away from doors and windows
On soil if possible
Shaded or partly shaded in hot climates
Well-drained
For school or community gardens, place the bin where staff can supervise access.
Step 2: Choose a Bin or Pile Style
Good beginner options include:
Plastic compost bin
Wire cylinder
Wooden pallet bin
Three-bin system
Enclosed tumbler used passively
For food scraps, an enclosed bin is usually better than an open pile.
Step 3: Start With Browns
Add a base layer of dry leaves, shredded cardboard, straw, or small twigs. This helps airflow and absorbs moisture.
Step 4: Add Greens
Add fruit scraps, vegetable scraps, coffee grounds, or fresh garden trimmings. Keep food scraps in small pieces when possible.
Step 5: Cover Greens With Browns
This is the most important habit in cold composting. Each time you add food scraps, cover them with dry leaves, shredded cardboard, or another brown material. This helps prevent:
Odor
Flies
Rodents
Slimy texture
Excess moisture
Step 6: Keep the Pile Moist, Not Wet
A compost pile should feel like a wrung-out sponge.
Too dry: decomposition slows.
Too wet: odor and pests become more likely.
Step 7: Turn Occasionally, or Leave It Alone
Cold composting does not require frequent turning. You can:
Turn monthly for faster results
Turn seasonally for moderate effort
Avoid turning for a slower, passive system
Step 8: Let It Finish
Finished compost should look dark, crumbly, and earthy. Original food scraps should no longer be recognizable. If the pile still contains chunks, sift them out and return them to the active pile.
Cold Composting in Dry Climates
Cold composting can work in dry climates, but moisture management matters.
In hot, dry areas, piles often stop breaking down because they dry out. Use these strategies:
Place the bin in partial shade
Add water during dry periods
Keep a lid or tarp over the pile
Use more food scraps or fresh plant material when available
Avoid letting leaves become bone dry for months
Chop materials smaller
A dry pile is not failed. It is paused. Add moisture and mix lightly to restart decomposition.
Cold Composting in Cold Weather
Cold composting slows during winter. This is normal. Food scraps may freeze, and decomposition may pause until temperatures rise. Winter tips:
Keep adding browns
Bury food scraps in the center
Use a lidded bin
Avoid overloading the pile with wet scraps
Expect activity to resume in spring
Common Cold Composting Mistakes
Mistake 1: Adding Food Scraps Without Browns
This causes odor, flies, and a slimy pile.
Fix it: Keep a bag, bin, or tote of dry leaves or shredded cardboard next to the compost area.
Mistake 2: Adding Too Much Food at Once
A cold pile cannot process large volumes quickly.
Fix it: Add food scraps in smaller amounts and always cover them.
Mistake 3: Letting the Pile Dry Out
Dry piles decompose very slowly.
Fix it: Add water until the pile feels damp, then mix lightly.
Mistake 4: Treating Cold Compost Like Trash
A compost pile needs balance. Random dumping causes problems.
Fix it: Use a posted accepted-materials list.
Mistake 5: Adding Weed Seeds or Diseased Plants
Cold piles may not get hot enough to neutralize these risks.
Fix it: Keep risky plant material out of cold compost systems.
Troubleshooting Cold Compost Problems
The Pile Smells Bad
Likely causes:
Too many greens
Not enough browns
Too much moisture
Meat, dairy, or oily food added
Fix:
Remove problem materials if visible
Add dry leaves or shredded cardboard
Mix lightly
Stop adding food for a few days
The Pile Is Not Breaking Down
Likely causes:
Too dry
Too many browns
Large materials
Cold weather
Fix:
Add water
Add fresh greens
Chop materials smaller
Mix occasionally
The Pile Has Flies
Likely causes:
Exposed food scraps
Fruit scraps near the surface
Fix:
Bury food scraps
Cover with 4 to 6 inches of browns
Use a lidded bin
The Pile Attracts Rodents
Likely causes:
Exposed food
Meat, dairy, or oily food
Open pile design
Fix:
Stop adding risky foods
Use enclosed bins
Add hardware cloth under and around the bin
Cover all food scraps deeply
The Pile Is Slimy
Likely causes:
Too much moisture
Too many greens
Compaction
Fix:
Add dry browns
Mix to add air
Avoid thick grass layers
Safety Considerations
Cold composting is generally safe when managed carefully, but it should be treated as a biological system.

Basic Safety Rules
Wash hands after handling compost.
Wear gloves if handling active material.
Avoid touching your face during compost work.
Keep open cuts covered.
Use adult supervision with children.
Do not compost meat, dairy, pet waste, or human waste in beginner systems.
Do not use unfinished compost on edible plant parts.
School Safety
For schools:
Use gloves for students handling compost.
Require handwashing after activities.
Keep food scrap rules simple.
Assign adult oversight.
Avoid known allergens when using food scraps.
Use closed bins in areas with pests.
Keep compost tools separate from food service tools.
Cold composting should never create extra work for custodial staff without planning. A school or community composting system needs clear responsibility, simple signage, and a maintenance schedule.
Age Recommendations for Cold Composting Activities
Ages 3 to 5
Best activities:
Sorting leaves
Observing bugs
Comparing textures
Drawing decomposers
Adult handling recommended.
Ages 6 to 8
Best activities:
Adding browns
Observing changes
Learning what belongs in compost
Simple food scrap sorting
Ages 9 to 12
Best activities:
Compost logs
Moisture checks
Decomposition experiments
Garden connections
Ages 13 and Up
Best activities:
Waste audits
Compost system design
Soil testing
Data tracking
School garden planning
Educational Applications
Cold composting can support science, gardening, and food systems learning.
Classroom Investigation Ideas
Students can compare:
Whole apple core vs chopped apple core
Dry pile vs moist pile
Leaves alone vs leaves plus food scraps
Covered scraps vs uncovered scraps
Compost bin temperature across seasons
School Garden Applications
Students can use cold composting to manage:
Dead garden plants
Fallen leaves
Harvest scraps
Plant trimmings
Non-diseased garden debris
Cold composting helps students connect garden maintenance with soil care.
Food Waste Reduction Lessons
Cold composting can support lessons about:
What gets wasted
Why sorting matters
How organic materials cycle
Why contamination creates problems
How systems need maintenance
For schools, the biggest lesson is practical responsibility. A compost system works when the whole site understands what belongs, who maintains it, and how the finished material will be used.
Gardening Applications
Cold composting is useful for gardeners who want to build soil over time. Finished cold compost can support:
Garden beds
Raised beds
Flower beds
Tree rings
Shrub areas
Soil improvement projects

Use finished compost as:
A top dressing
A soil amendment
A garden bed ingredient
A mulch booster
Do not use unfinished compost directly around seedlings or edible plant parts. Unfinished compost can tie up nutrients, attract pests, or continue decomposing where you do not want it.
Composting Applications
Cold composting works well as part of a larger composting strategy. Cold composting is one tool, not the only tool. For example:
A worm bin can handle classroom food scraps.
A cold compost pile can handle leaves and garden debris.
A hot compost system can handle larger seasonal volumes.
A municipal composting service can handle materials that backyard systems should avoid.
Real-World Example: A School Garden
A school garden may not have time to manage a hot compost pile. Teachers may have limited class time, and garden volunteers may only visit once a week. Cold composting can still work. A simple system might look like this:
Students collect plant trimmings from the garden.
Teachers add approved fruit and vegetable scraps.
A dry leaf bin sits beside the compost bin.
Every food scrap layer gets covered with leaves.
Students check moisture once per week.
The pile is turned once each month.
Finished compost is used in non-edible garden areas first.
This setup keeps the system realistic. It teaches decomposition and resource management without requiring daily expert care.
Real-World Example: A Backyard Family System
A family may want to reduce kitchen waste but does not want a complicated compost routine. A simple cold compost approach:
Keep a small countertop scrap container.
Empty it every few days into an outdoor cold compost lidded bin.
Cover each addition with leaves or shredded cardboard.
Water lightly when dry.
Mix every month or two.
Harvest compost after one year.
This works best for families who are patient and willing to follow basic food scrap rules.
Frequently Asked Questions
Is cold composting good for beginners?
Yes. Cold composting is one of the easiest composting methods because it requires little equipment and less frequent maintenance.
How long does cold composting take?
Most cold compost piles take 6 to 18 months. Dry, cold, or neglected piles can take longer.
Does cold composting smell?
A healthy cold compost pile should smell earthy or neutral. Bad smells usually mean too much food, too much moisture, or not enough browns.
Can I cold compost food scraps?
Yes, but stick with fruit and vegetable scraps, coffee grounds, tea leaves, and crushed eggshells. Always cover food scraps with browns.
Can cold composting kill weed seeds?
Cold composting is not reliable for killing weed seeds. Keep seed heads and invasive weeds out of the pile.
Can cold composting kill plant diseases?
No. A cold pile may not reach temperatures needed to reduce disease risk. Do not add diseased plants.
Do I need to turn a cold compost pile?
No, but occasional turning helps. Turning adds air, mixes materials, and can speed decomposition.
Can I cold compost in a tumbler?
Yes. A tumbler can be used passively, but it may work better with occasional turning.
Can I cold compost in an apartment?
Usually not unless you have outdoor space. Apartment composters may prefer worm composting, bokashi, or a local compost drop-off.
Is cold composting safe for schools?
Yes, if the system is enclosed, supervised, and limited to approved materials. Schools need clear rules, signage, handwashing, and assigned maintenance.
Is Cold Composting Right for You?
Cold composting is a strong option if you want a simple, low-cost way to recycle leaves, garden debris, and some kitchen scraps into a soil-building resource. It is best for people who are patient and want a low-maintenance system. Choose cold composting if:
You have outdoor space.
You have leaves or garden waste.
You can wait several months.
You want a simple setup.
You can cover food scraps with browns.
Choose another method if:
You need compost quickly.
You want to process large food volumes.
You have frequent pest issues.
You need an indoor classroom system.
You want reliable weed seed or disease reduction.
Cold composting is not the fastest method, but it is one of the most practical. For families, schools, gardens, and community sites, it can turn everyday organic materials into a useful soil amendment while teaching how natural systems recycle resources.
About Let’s Go Compost
Let’s Go Compost is a national nonprofit making composting simple, affordable, and accessible. Our programs bring hands-on composting to communities, helping people turn food and plant waste into healthy soil that supports food systems, native plant ecosystems, and pollinators. Learn more at letsgocompost.org and support our work at letsgocompost.org/donate.