



How to Use a Compost Tumbler: A Complete Step-by-Step Guide
Updated: Jul 19
Composting transforms kitchen and garden waste into nutrient-rich compost that supports healthier soil and stronger plants. A compost tumbler offers a clean, contained, and convenient way to compost at home, especially in smaller yards, patios, and communities with limited outdoor space. Unlike an open compost pile, a tumbler keeps materials enclosed inside a rotating chamber. Turning the chamber mixes greens and browns, distributes moisture, and introduces oxygen throughout the compost. This guide explains how to choose, fill, turn, troubleshoot, and harvest compost from a tumbler.

Selecting the Right Compost Tumbler
Selecting the right compost tumbler is the first step toward successful composting. Start by considering the amount of space available and the volume of food and garden waste your household produces. A compact tumbler may work well for a small garden, patio, or household with limited food scraps. A larger model offers more capacity for households that produce substantial kitchen and yard waste.
Material is another important consideration. Most compost tumblers are made from plastic because it is lightweight, weather-resistant, and easy to clean. Tumblers made from recycled plastic offer a more sustainable option. Secondhand tumblers can also provide an affordable way to begin composting. Check local Buy Nothing groups, resale websites, neighborhood groups, and community marketplaces before purchasing a new model.
Ease of rotation matters once the chamber becomes heavy. Look for a sturdy frame, comfortable handles, strong internal supports, and a design that rotates smoothly when partially full. Aeration vents allow oxygen to circulate through the compost. Good airflow supports aerobic decomposition and helps prevent unpleasant odors. A secure lid also helps reduce pest access while keeping the contents contained.
Single-Chamber vs. Dual-Chamber Compost Tumblers
Compost tumblers generally come in single-chamber and dual-chamber designs.
A single-chamber tumbler provides one large space for composting materials. The larger capacity can help the contents retain heat, but adding fresh scraps continuously makes it harder for the entire batch to finish at the same time. A dual-chamber tumbler separates the process into two smaller compartments. One side can decompose and cure while fresh materials go into the other. This design creates a more consistent supply of finished compost and reduces the temptation to keep adding scraps to an almost-complete batch.
Single-chamber models often work best for households that collect enough materials to build a full batch. Dual-chamber models suit households that want to add kitchen scraps regularly.
Batch Composting vs. Continuous Composting
A compost tumbler generally produces the best results when used as a batch system.
Batch composting involves filling the tumbler with a balanced mixture of greens and browns, then stopping new additions while the materials decompose. This gives the entire batch time to reach a similar stage. Continuous composting involves adding fresh scraps every few days. This approach is convenient, but the tumbler will always contain materials at different stages. Fresh food scraps may remain visible even after older materials have finished breaking down.

A dual-chamber tumbler makes batch composting easier. Fill one side, allow it to process, and add new materials to the second side. Households using a single-chamber tumbler can store new food scraps temporarily in a freezer, sealed bucket, or separate compost container while the current batch finishes.
How to Choose the Right Location for Your Compost Tumbler
Place the compost tumbler on a level, stable surface that allows the chamber to rotate smoothly. Concrete, gravel, pavers, compacted soil, and patios can all work well. Avoid uneven ground that causes the frame to rock or shift during turning.
Good drainage around the base also matters. Standing water can create muddy conditions and make the tumbler difficult to access.
Place the tumbler close enough to the kitchen or garden to encourage regular use. A convenient location makes it easier to add food scraps, check moisture, and turn the chamber. Partial sun works well in many climates. Sunlight can warm the chamber and support decomposition, while some shade helps prevent the contents from drying too quickly during hot weather.
In very hot climates, afternoon shade may protect the compost from excessive drying. In colder climates, a sunny, wind-protected location can help the tumbler retain more warmth. A properly managed compost tumbler should smell earthy rather than unpleasant. Still, placing it a short distance from doors, windows, patios, and gathering spaces can provide added peace of mind.
Balancing Green and Brown Materials in a Compost Tumbler
A healthy compost tumbler needs a balance of green and brown materials. Green materials provide nitrogen, moisture, and proteins that support microbial activity. Common greens include:
Fruit and vegetable scraps
Coffee grounds
Fresh grass clippings
Fresh plant trimmings
Tea leaves
Wilted flowers
Brown materials provide carbon, structure, and airflow. Common browns include:
Dry leaves
Shredded cardboard
Plain paper
Straw
Paper egg cartons
Brown paper bags
Small untreated wood chips

Start with roughly two to three parts browns for every one part greens by volume. This does not need to be exact. Materials vary widely, so the compost itself provides the best feedback. Too many greens can create wet, dense, and smelly compost. Too many browns can leave the tumbler dry and slow to decompose. Add more browns when the contents feel soggy, smell sour, or form dense clumps. Add more greens and moisture when the materials remain dry and unchanged for long periods.
Adding Materials to the Compost Tumbler
Begin with a layer of dry, coarse browns such as leaves, torn cardboard, or straw.
Add kitchen scraps and other greens next, then cover them with another layer of browns. Continue adding a varied mixture rather than placing large amounts of one material into the chamber. Perfect layers are not required. Variety and balance matter more.
Chop or shred larger materials before adding them. Smaller pieces provide more surface area for microorganisms and usually decompose faster. Large branches, corn cobs, thick vegetable stalks, whole pumpkins, and dense pieces of cardboard can take a long time to break down. Cut them into smaller pieces or place them in a slower outdoor compost pile. Avoid adding:
Meat
Dairy products
Grease
Cooking oils
Large bones
Diseased plants
Pet waste from dogs and cats
Pressure-treated wood
Plastic
Glass
Metal
These materials can create odors, attract pests, introduce pathogens, or remain in the compost for long periods.
How Full Should a Compost Tumbler Be?
A compost tumbler needs enough material to support microbial activity, but it also needs empty space for movement and airflow. Aim to fill the chamber around two-thirds to three-quarters full. This provides enough mass to retain moisture and warmth while leaving room for the materials to tumble during rotation.
An overfilled tumbler becomes heavy and difficult to turn. Materials may slide together as one dense mass rather than mixing properly. A nearly empty tumbler may lose heat quickly and struggle to maintain consistent moisture. Build up a reasonable volume of greens and browns before expecting rapid decomposition.
The Correct Moisture Level for a Compost Tumbler
Proper moisture supports healthy decomposition. Compost should feel similar to a wrung-out sponge. It should be damp throughout without dripping water. Dry compost decomposes slowly because microorganisms need moisture to remain active. Add a small amount of water while rotating the tumbler to distribute it evenly.
Moist food scraps may provide enough water on their own, so check the contents before adding more. Overly wet compost can become compacted and low in oxygen. This often leads to sour odors, slimy textures, and dense clumps. Add dry browns such as leaves, shredded cardboard, straw, or torn paper bags to absorb excess moisture.
Avoid pouring large amounts of water into the tumbler at once. Small adjustments are easier to manage. Our guide Too Dry or Too Wet? How to Keep Your Compost at the Ideal Moisture Level explains how to identify and correct common moisture problems.

How Often Should You Turn a Compost Tumbler?
Rotate the compost tumbler every two to three days during active decomposition. A few complete rotations are usually enough to redistribute moisture and introduce oxygen. Daily turning is not necessary and may dry the materials faster. Microorganisms need steady moisture, balanced ingredients, and time to break down organic matter.
Reduce turning when the compost feels dry. Frequent rotation increases airflow and may remove moisture faster. Cold weather also calls for less turning. Rotating the chamber can release warmth from the center and expose the contents to colder air. Avoid forcing a frozen tumbler to rotate. Wait for the materials to thaw and soften.
Monitoring Compost Temperature
Compost generates heat as microorganisms break down organic matter. Large, well-balanced batches may become noticeably warm, but many residential tumblers never reach traditional hot-composting temperatures. Their smaller volume and exposed design allow heat to escape more quickly than a large ground-level pile.
Compost can still break down successfully at moderate or cool temperatures.
A compost thermometer can help track changes, but it is not required. Moisture, smell, texture, and visible decomposition often provide more useful information for home composters. A cool tumbler may result from:
Too little material
Cold outdoor temperatures
Excessive dryness
Too many browns
Large pieces
Frequent turning
A nearly finished batch
Avoid adding large amounts of nitrogen-rich material solely to raise the temperature. Excess grass clippings or food scraps can quickly create wet, smelly conditions.
Why Compost Tumbler Contents Form Balls
One of the most common compost tumbler problems is the formation of dense, wet balls. Tumbling causes damp materials to roll together. Grass clippings, food scraps, shredded paper, and other fine materials can bind into compact clumps that remain wet inside and dry on the surface.
Break the clumps apart with a hand cultivator, compost aerator, or gloved hands.
Add coarse browns such as dry leaves, torn cardboard, straw, or small wood chips to create more structure and airflow. Avoid adding large amounts of grass clippings, sawdust, or finely shredded paper at one time. These materials compact easily and need to be mixed with chunkier ingredients.
How to Keep Compost From Sticking to the Sides
Wet compost may coat the interior walls of the tumbler rather than falling freely during rotation. This usually signals excess moisture or a shortage of coarse brown materials. Scrape the sides with a small garden tool and add dry leaves, torn cardboard, or straw. Allow the tumbler to sit without turning for a few days after correcting the moisture level. The materials should begin separating as the browns absorb excess water.

Why a Compost Tumbler Smells Bad
Healthy compost should smell earthy. Sour, rotten, or ammonia-like odors point to an imbalance. A rotten smell commonly comes from excess moisture and limited oxygen. Add dry browns and break apart compacted material.
An ammonia smell commonly means the tumbler contains too many nitrogen-rich greens. Mix in leaves, shredded cardboard, straw, or plain paper. Food scraps sitting near the vents may also create odors and attract flies. Bury fresh scraps near the center and cover them completely with browns. Our guide How to Get Rid of Compost Smell explains the most common causes and corrections.
How to Prevent Fruit Flies and Other Pests
Compost tumblers reduce access for many animals, but small insects can still enter through vents or gather near exposed food. Cover each layer of kitchen scraps with several inches of browns. Avoid leaving fruit peels or other sweet materials against the chamber walls or near ventilation openings. Freezing food scraps before adding them can reduce fruit fly eggs and larvae already present on produce.
Clean residue from the lid, handles, vents, frame, and surrounding ground. Avoid meat, dairy, oils, and large amounts of cooked food in a traditional compost tumbler. These materials break down slowly and may create strong odors.
Why Compost Is Not Heating Up
A compost tumbler does not need to become hot to create compost. Many small tumblers operate through slower decomposition at moderate temperatures. A cool tumbler may contain too little material, too little moisture, too many browns, or pieces that are too large. Add a balanced mixture of fresh greens and browns, check the moisture, and allow the materials time to respond. Cold weather naturally lowers the temperature inside the chamber. Decomposition may slow or pause during freezing conditions, then resume as temperatures rise.
Can You Keep Adding Food to a Compost Tumbler?
Fresh materials can go into a tumbler during the early stages of a batch. Stop adding new scraps once the chamber reaches around two-thirds to three-quarters full. Continuing to add food indefinitely prevents the batch from finishing evenly. Older materials may look ready while newer scraps remain recognizable. Move new scraps to a second chamber, another compost system, or temporary freezer storage while the first batch decomposes and cures.
Using a Compost Tumbler During Winter
Cold temperatures slow decomposition inside compost tumblers. Their raised, enclosed design exposes every side to cold air, causing them to freeze faster than large ground-level piles. Move the tumbler into a sunny, wind-protected location before winter. Continue balancing greens with dry browns and cut scraps into smaller pieces. Turn the tumbler less frequently to help retain warmth.
Avoid forcing the chamber to rotate while its contents are frozen. Wait for a warmer day and allow the materials to soften. The tumbler can continue storing compostable materials during winter even when active decomposition pauses. The process will resume as temperatures rise. Our complete guide How to Compost in Cold Weather shares more seasonal composting strategies.
How to Harvest Finished Compost From a Tumbler
Finished compost usually looks dark, crumbly, and relatively uniform. It should smell earthy rather than sour or rotten. Recognizable food scraps should be mostly gone, though a few slower materials may remain. The timeline can range from several weeks to several months. Temperature, moisture, ingredient balance, material size, and turning frequency all affect how quickly compost finishes. Open the chamber and remove the finished material with a shovel, scoop, bucket, or tarp placed beneath the tumbler. Screening the compost can separate larger pieces such as:
Avocado pits
Corn cobs
Woody stems
Eggshell fragments
Thick cardboard
Small branches

Return those unfinished pieces to the next batch.
What Is Compost Curing?
Freshly finished compost benefits from a resting period called curing. During curing, remaining materials continue breaking down at a slower rate. The compost becomes more stable, develops a more uniform texture, and becomes safer for direct use around plant roots. Remove finished material from the tumbler and place it in a breathable container, storage bin with air holes, open pile, or covered area.
Allow it to cure for several weeks. Keep curing compost slightly moist and protected from heavy rain. An earthy smell and crumbly texture signal that it is ready for garden use.
What to Do With Half-Finished Compost
Not every piece inside a tumbler breaks down at the same speed. Avocado pits, corn cobs, eggshells, woody stems, and larger pieces of cardboard may remain after most of the batch looks finished. Screen the compost to separate larger pieces. Return unfinished materials to the next batch, use the compost as mulch, or allow the entire batch to cure longer. Half-finished compost still has value, but actively decomposing material should not be mixed directly into seed-starting mixes or placed against delicate plant roots.
Read Half-Finished Compost? Don’t Toss It for more ways to use or finish partially decomposed material.
How to Use Finished Compost
Finished compost can improve soil throughout the garden and landscape. Common uses include:
Mixing it into vegetable garden beds
Adding it to raised beds
Spreading it around trees and shrubs
Applying it as a top dressing
Blending small amounts into potting mixes
Adding it beneath mulch
Using it to improve compacted or sandy soil
Compost improves soil structure, supports beneficial organisms, and helps soil hold water more effectively. Avoid treating compost as a complete replacement for soil. It works best as a soil amendment.
Compost Tumbler Mistakes to Avoid
A compost tumbler does not require perfect ratios or constant attention. Regular observation and small adjustments produce better results than an overly complicated routine. But, several common habits slow decomposition or create unnecessary problems:
Filling the chamber completely
Adding food scraps without browns
Turning the tumbler several times every day
Adding large, uncut materials
Allowing the contents to become waterlogged
Expecting every batch to become hot
Adding new scraps to a nearly finished batch
Harvesting compost before it has cured
Using only soft, fine materials that form clumps
Ignoring residue around vents and openings
Compost Tumbler FAQ
How long does compost take in a tumbler?
Most batches take several weeks to several months. Temperature, moisture, material size, chamber volume, and ingredient balance all affect the timeline.
Does a compost tumbler need worms?
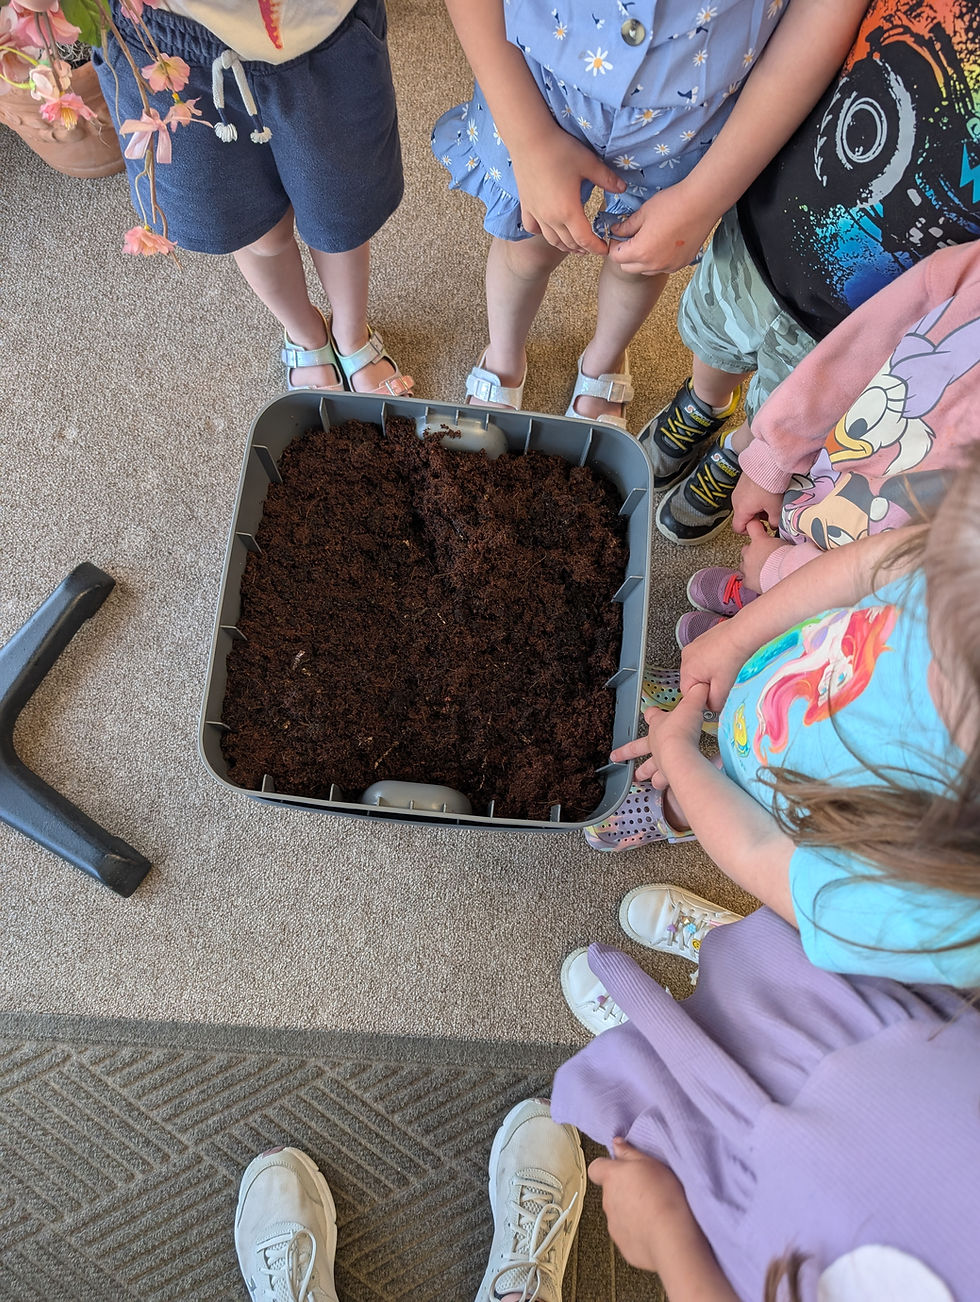
No. Compost tumblers are designed to compost with the help of naturally occurring microorganisms, not composting worms. In fact, adding worms to a compost tumbler can harm or kill them. Tumblers are regularly rotated, often become too hot, and experience frequent changes in moisture and airflow, creating inhumane conditions that are stressful and unsuitable for composting worms. Use a dedicated worm bin for vermicomposting.
Can a compost tumbler sit on concrete?
Yes. A level concrete, gravel, patio, or compacted surface can support a tumbler. Choose a location with stable footing and enough room to rotate the chamber.
Should a compost tumbler be in the sun or shade?
Partial sun works well in many climates. Winter sun can support warmth, while afternoon shade protects the contents from drying during hot summers.
Can grass clippings go into a compost tumbler?
Yes, in small amounts. Mix them immediately with dry, coarse browns to prevent wet clumps and strong odors.
Can weeds go into a compost tumbler?
Young weeds without mature seeds can usually be added. Avoid invasive plants, diseased plants, and weeds that have already produced seeds unless the batch reliably reaches temperatures capable of destroying them.

Do compost tumblers leak?
Liquid may drain from vents when the contents become too wet. Add browns rather than collecting the liquid as compost tea. Leachate from unfinished compost is not the same as properly prepared compost tea.
Why are there maggots in my compost tumbler?
Fly larvae may appear after flies reach exposed food scraps. Cover food with browns, clean the tumbler exterior, and correct excess moisture. Many larvae assist decomposition, but their presence often signals that scraps need better coverage.
Can compost stay in the tumbler after it is finished?
Finished compost can remain for a short period, but removing and curing it frees space for the next batch. Long storage inside a sealed tumbler may create excess moisture and reduce airflow.
Can coffee grounds go in a compost tumbler?
Yes. Used coffee grounds provide nitrogen and count as a green material. Mix them with dry leaves, cardboard, or another brown material.
Can eggshells go in a compost tumbler?
Yes. Crushed eggshells can be added, though they break down slowly and may remain visible in finished compost.
Can a compost tumbler become too hot?
Small residential tumblers rarely maintain extreme temperatures for long periods. Dryness becomes a more common concern during hot weather. Check moisture regularly and move the tumbler into partial shade during intense summer heat.
Why is my compost tumbler taking so long?
Slow decomposition can result from cold temperatures, low moisture, large pieces, too many browns, too little material, or frequent additions of fresh scraps.
Turn Scraps Into Better Soil
A compost tumbler makes home composting cleaner, more contained, and easier to manage in small outdoor spaces. Strong results come from balanced materials, steady moisture, occasional turning, and enough time for each batch to finish. Pay attention to what the compost is showing you. A bad smell calls for more browns or oxygen. Dry materials need moisture. Dense balls need coarse structure. Recognizable scraps simply need more time. Each completed batch turns everyday kitchen and garden waste into organic matter that supports healthier soil, stronger plants, and a more productive garden.
About Let’s Go Compost
Let’s Go Compost is a national nonprofit making composting simple, affordable, and accessible. Our programs bring hands-on composting to communities, helping people turn food and plant waste into healthy soil that supports food systems, native plant ecosystems, and pollinators. Learn more at letsgocompost.org and support our work at letsgocompost.org/donate.


